Building a Ukulele
Page 1
|
|
||
Building a Ukulele |
||
|
Page 1 |
||
| Click on pictures to see larger images | ||
|
|
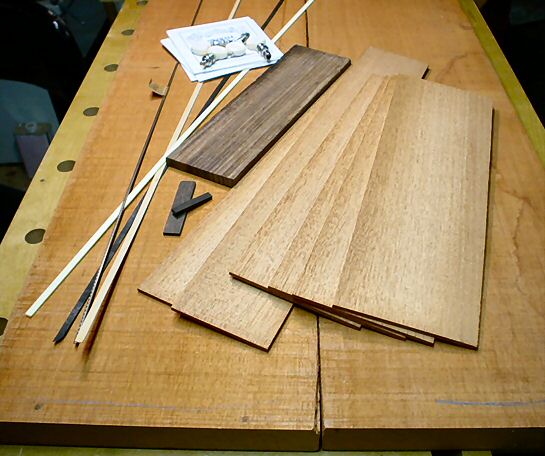
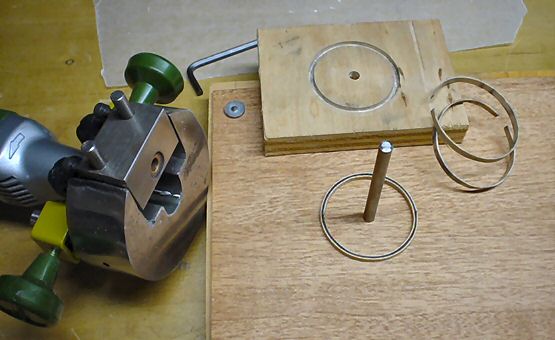
Photo at left shows most of the materials used to build a soprano ukulele. The thin pieces for the body top, back, and sides were re-sawn from the mahogany lumber they are laying on. The fingerboard was cut from a Brazilian rosewood guitar fingerboard blank that I bought in the '70's and had since warped. The blanks for the nut and saddle were cut from ebony fingerboard scraps. The blank for the neck will also be of mahogany. A small amount of spruce and maple were also used for inside bracing. After joining the top and back halves, they were thinned down to just over 0.09" thick using a hand plane and scraper. The sides were thinned down to just over 0.07" thick. |
|
|
|
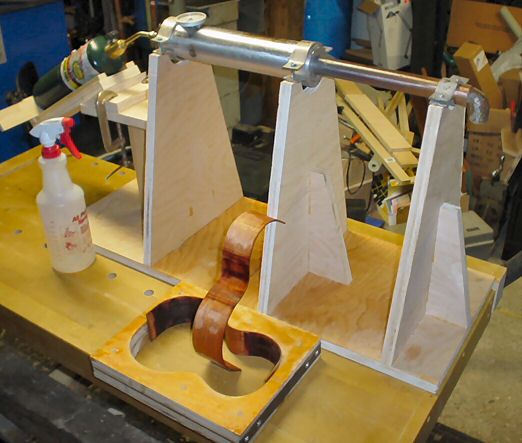
I made this side bender (hot pipe) to do the small radius bends of the ukulele sides. There are two sizes of pipe. The larger pipe is aluminum and the smaller one is copper. It took me some practice to get the temperature right. As you can see in the picture I did a good job of scorching the sides. I thought this set of sides was ruined but the scorching sanded off pretty well. | |
|
|
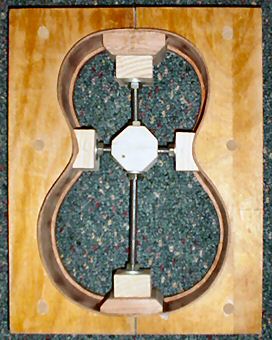
The mold is made of birch plywood. The halves of the mold are held together by pieces of steel bar on each end, which are attached with wood screws. | |
 |
When I cut the channel for the sound hole trim, I cut a matching channel in a scrap of plywood to use as a mold to pre-shape the trim rings. The trim is made of strips of light and black dyed wood, both maple I think. I soaked the trim strips in a pan of boiling water for a few minutes to make them flexible. I needed to widen out the channel in the mold a little due to swelling of the trim. It took a couple tries to get decent rings. I let the trim rings dry in the mold before using them. | |
 |
I cut the sound hole trim channel using a
spiral downcut bit in a Proxxon rotary tool. The standard Proxxon router
base for this tool would not allow me to cut circles this small using a
center, so I made my own base. I used 1-1/2" thick steel so that the base
would be heavy. This helps reduce vibration and keeps the tool firmly
planted on the wood. The extra trim rings shown were rejects. They are shaped well, but I got things too wet and the black dye from the inner ring bled into the white rings. |
|
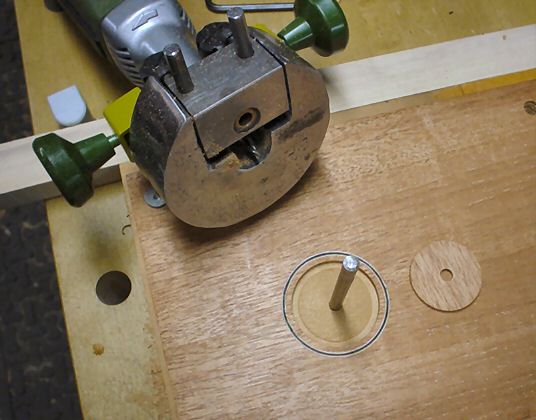 |
Here the sound hole has been cut out using the same setup. You can see that the steel center shaft is fitted into a hole in a board, which the top mounted to. | |
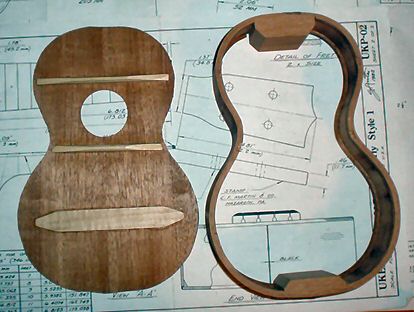 |
The bridge plate is hard maple and the other braces are spruce. | |
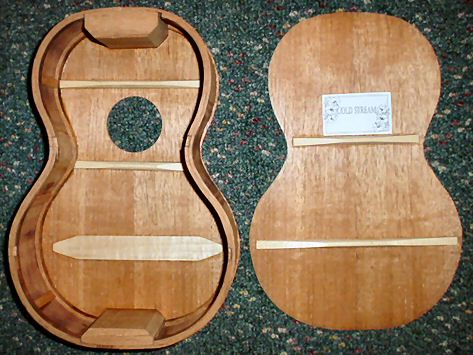 |
I used solid mahogany linings. They were thicker than the sides and I had quite a bit of trouble bending them on the hot pipe. The label graphics were done on the computer. The lablel was printed on acid free white paper and glued on with white glue. | |
 |
Gluing the back on using home made spool clamps with pads of rubberized cork gasket material. | |
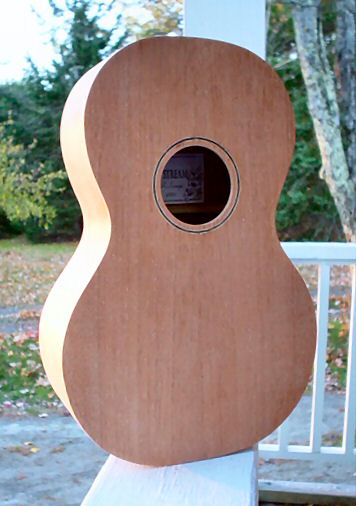 |
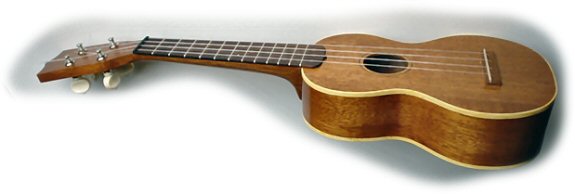
Freshly sanded and in the raw, the body sees the light of day for the first time. It looked so nice I seriously considered skipping the binding at this point. Or maybe I was just afraid of ruining it! | |
| Home |
Page 1 |
|