The Purple Uke


Home


Click on pictures to see larger images


My 4 year old daughter was playing with my first ukulele, and asked me to make one for her. And she said "make it pink and purple".

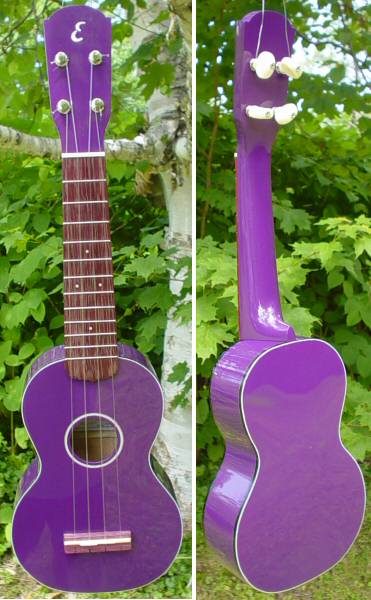
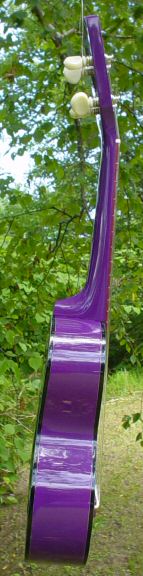
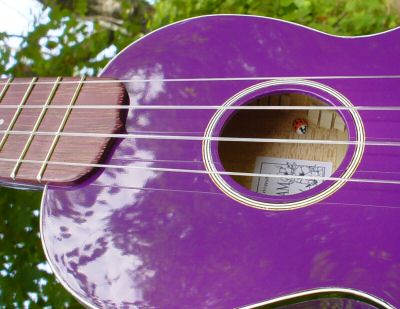
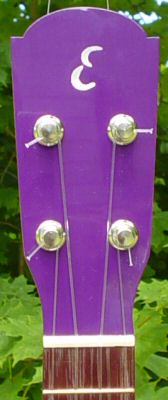
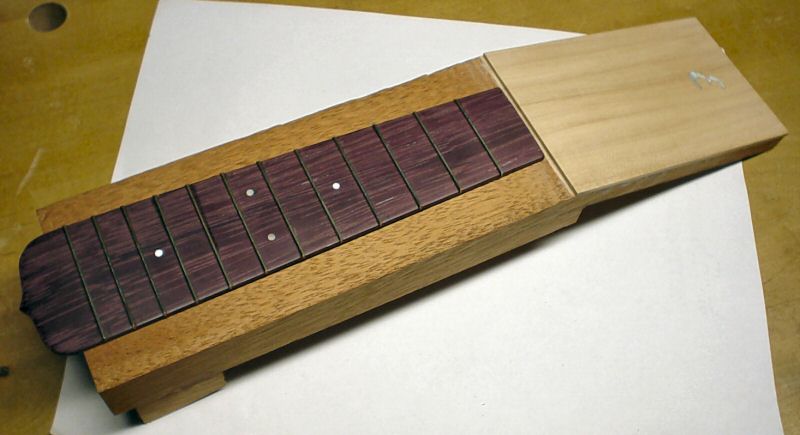
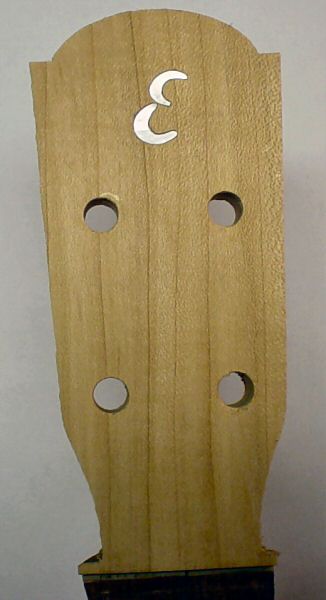
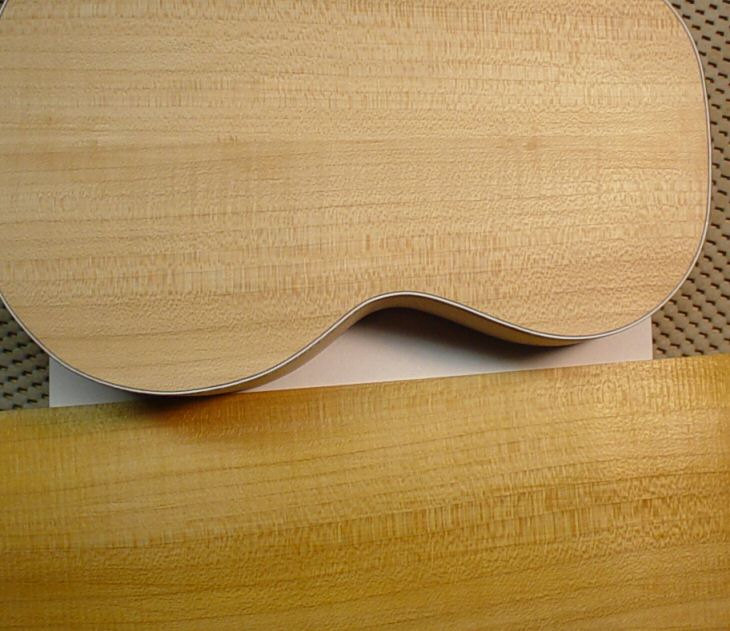
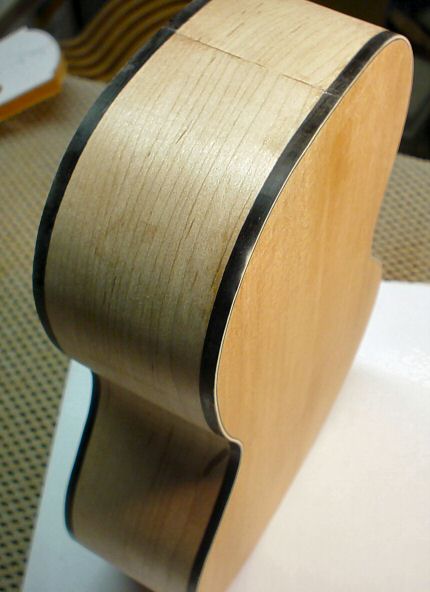
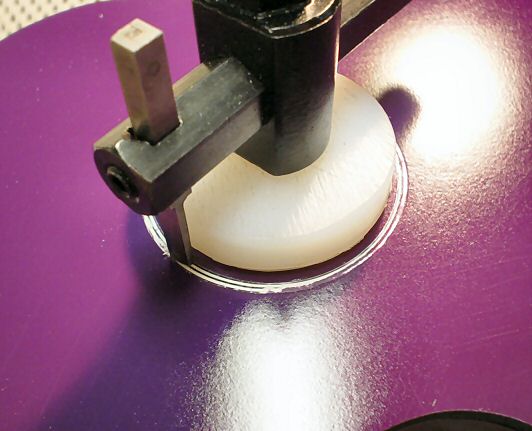
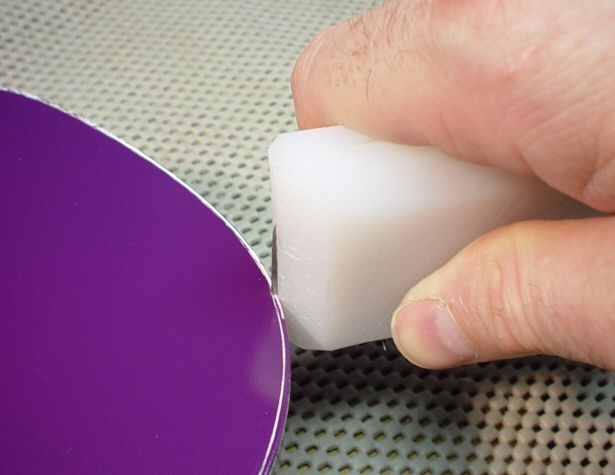
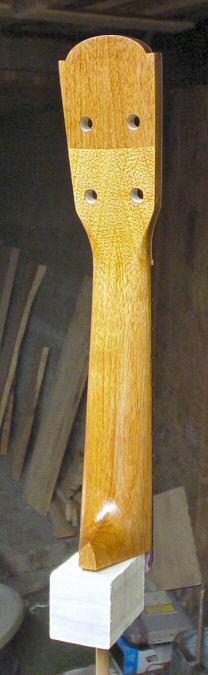
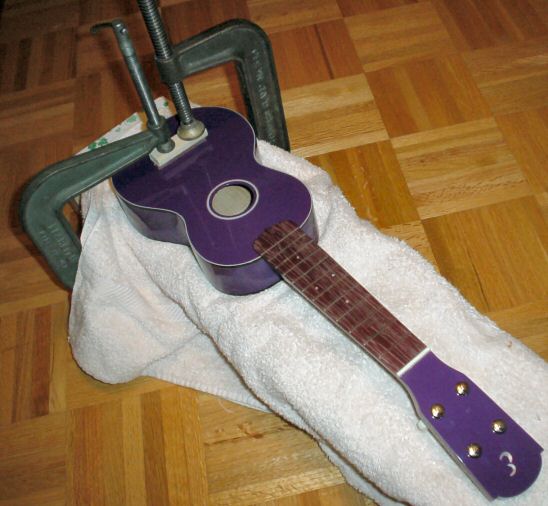
I settled on Purple Lacquer with black and white plastic bindings and sound hole trim. The fingerboard and bridge are purpleheart. The nut and saddle are bone. The headstock inlay and fingerboard markers are pearl. The body was made from straight grained quarter sawn maple, and the neck is mahogany.

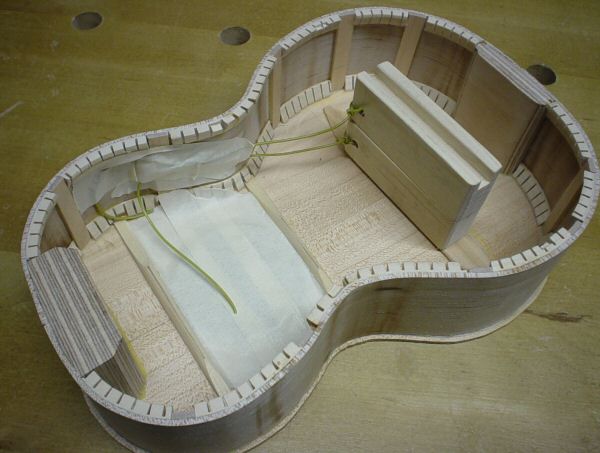
Note the wooden lady bug that you can see through the sound hole.

Here are the sides in the mold. I used thick kerfed linings and side reinforcements. This instrument was built more for strength than for tone since it will be used by a toddler.
This is a two piece jack I made to support the top under the bridge plate when it comes time to glue on the bridge. Magnets hold the jack together while inside the body.
Here is the jack sitting on the bridge plate just before gluing on the back. Note the strings taped near the soundhole. The strings are used to remove the pieces of the jack after the bridge is glued. The slot in the bottom of the jack fits over the large brace on the back.
Here are the parts used to make the neck. Note that the headstock has a maple face plate.
This is the pearl inlay in the unfinished headstock
The quartersawn maple top and backs were beautiful considering the wood had no figure to speak of. In the lower part of the picture is a piece of the same wood that I rubbed some shellac on. Maybe I'll use some of this wood on another instrument that I won't have to paint.
Oops. While scraping the binding down flush with the sides I scraped through the black layer on this upper bout. Later on, before applying the clear coats, I brushed black enamel over this spot and you can't even notice it.
I made a UHMW plug that just fit in the soundhole, with a small lip to rest on the top. A hole in the plug acts as a center for a drill press circle cutter that was used for scraping the purple paint off the sound hole trim rings. The bit on the cutter was ground to make a straight scraper, and the tool was turned by hand.
For the binding, I made a scaper holder from a block of UHMW as shown in the picture. The scraper blade was made from a piece of metal cutting saw blade.
Here is the binding scraper in use. The blade sticks out of the holder just the width of the binding. This worked well.
This is the finished neck before painting. It has just a few coats of sanding sealer on it and I thought it looked great this way so I took a picture!
Gluing on the bridge. This looks scary, but because of the jack inside the body there is little danger of damaging the body.
This is a jig I made for sawing bone pieces for nuts and saddles. The rough bone piece is glued to a piece of wood using epoxy. The piece of wood is held in the jig with a clamp cam. The jig has a steel guide that rides in the miter slot of my band saw table.
This is the first cut to create one flat face on the bone.
The piece of wood with the bone piece is moved in and the second cut was made to make a rough saddle blank. In this case the blank was just over 1/8" thick.
This is the bone saddle nearly completed. You can see my temporary maple saddle sitting on top of the vise jaw just behind the bone saddle. I make my action and intonation adjustments with temporary saddles, then when I have it right I use it as a pattern to make my saddle.
Home